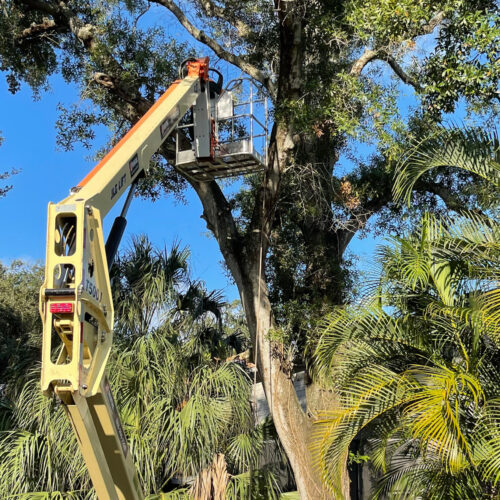
Removing a tree from your property can be a daunting task that requires careful planning and execution. Whether you need to remove a tree due to safety concerns, disease, or landscape changes, it is crucial to prioritize safety throughout the process. This article provides a comprehensive guide, complete with bullet points, to help you safely remove a tree from your property.
1. Assessing the Situation:
– Determine the tree’s condition: Evaluate the health, stability, and structural integrity of the tree. Look for signs of decay, disease, or damage that may impact its removal process.
– Identify potential hazards: Examine nearby structures, power lines, fences, and other obstacles that may pose risks during tree removal.
– Consider professional assistance: If the tree is large, complex, or poses significant risks, it is advisable to hire a professional tree removal service.
2. Obtaining Necessary Permissions:
– Check local regulations: Research and comply with any local regulations or permits required for tree removal. Some areas may have restrictions or guidelines regarding tree removal.
– Notify neighbors: Inform your neighbors about your plans to remove the tree, especially if it may affect their property or require access through their land.
3. Equipment and Safety Gear:
– Gather the necessary tools: Acquire appropriate tools such as chainsaws, pruning saws, ladders, ropes, and safety gear like helmets, gloves, goggles, and sturdy footwear.
– Inspect equipment: Ensure that all tools are in good working condition, properly maintained, and suitable for the task at hand.
4. Planning the Tree Removal:
– Determine the felling direction: Assess the tree’s lean and identify the safest direction for it to fall. Consider factors such as wind direction, surrounding structures, and obstacles.
– Establish a safe work zone: Clear the area around the tree, removing debris, furniture, or any potential tripping hazards.
– Plan an escape route: Determine a clear path to escape once the tree starts falling, ensuring it is free from any obstacles.
5. Tree Removal Process:
– Prune the tree: Start by removing any dead or weak branches, starting from the bottom and working your way up. This step minimizes potential hazards during the felling process.
– Make a notch cut: Create a horizontal cut on the side of the tree facing the desired felling direction, followed by an angled cut beneath it, forming a notch.
– Make the felling cut: Position yourself on the opposite side of the notch and cut horizontally towards it, allowing the tree to fall.
– Retreat to the escape route: Once the tree starts falling, quickly move to your predetermined escape route to ensure your safety.
– Remove the remaining stump: Use a stump grinder or hire a professional service to remove the stump, ensuring it does not become a tripping hazard or hinder future landscaping plans.
6. Post-Tree Removal:
– Clean up the area: Remove all debris, branches, and logs from the site, ensuring the area is clear and safe.
– Dispose of the tree: Consider recycling or repurposing the tree, such as using it for firewood, mulch, or contacting local organizations that accept tree donations.
– Assess the soil and replant: Evaluate the soil conditions and consider replanting a suitable tree or vegetation in the same area to maintain the ecological balance.
Conclusion:
Removing a tree from your property requires careful planning, appropriate equipment, and a focus on safety. By following the outlined steps and considering consulting a professional arborist when necessary, you can ensure a safe and successful tree removal process. Remember to prioritize safety at all times and consult local regulations to ensure compliance.

